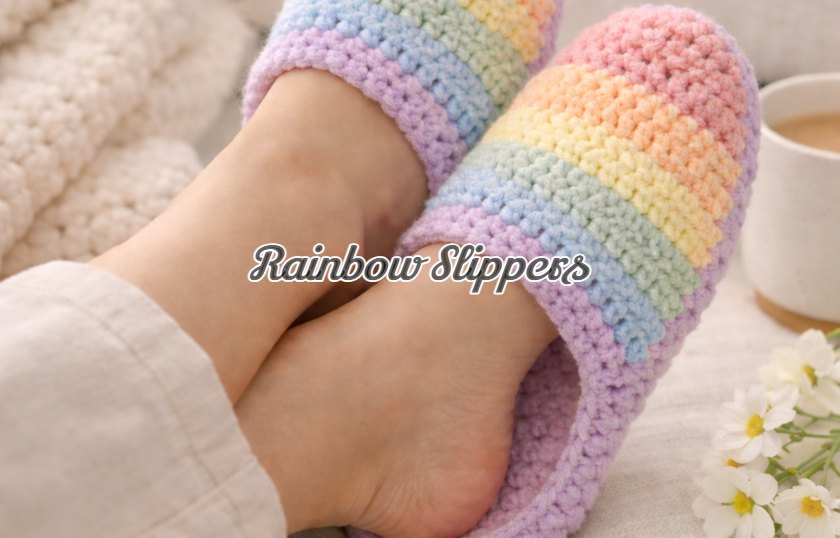
Just look at these most beautiful and colorful slippers that we have here for you, with a free written pattern where everything is explained step by step. Just bring your supplies and hook and start crocheting. You can make your everyday life more comfortable and beautiful with your hands. Follow the pattern, and you will end up with perfect results. We hope you will enjoy the process.
Pin It 📌
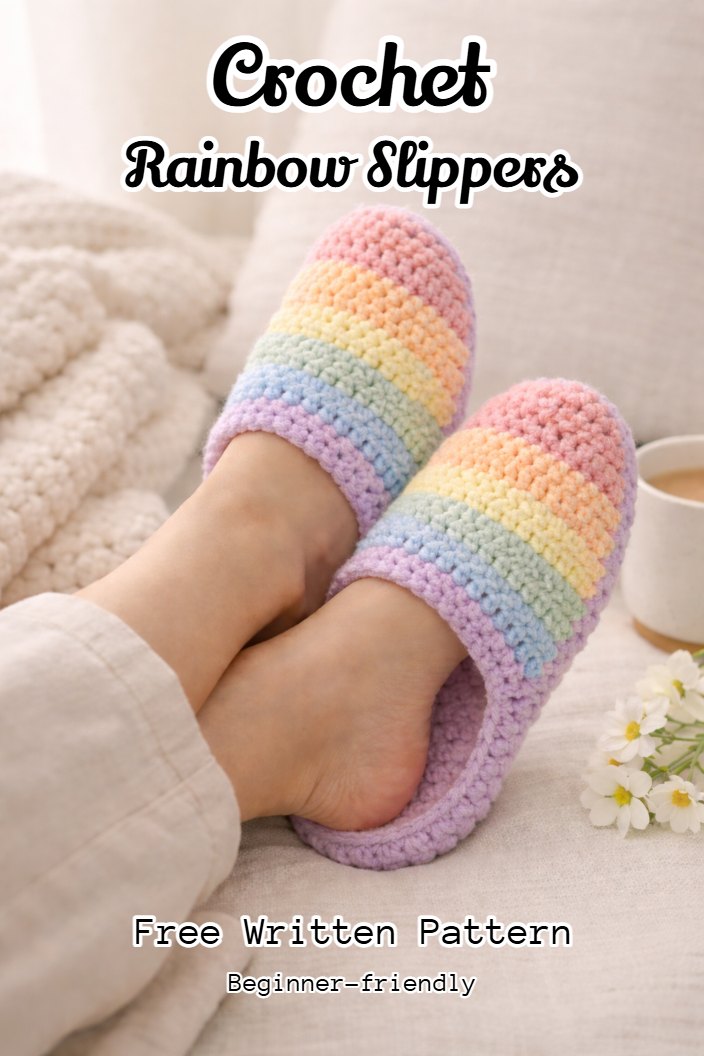
🌈 Easy Crochet Rainbow Slippers
Skill level
Beginner–Easy
Size
Women’s EU 38–39 (US 7–8)
(I’ll tell you how to resize at the end.)
Yarn + hook
-
Bulky / super bulky yarn (or 2 strands of DK held together) for a fast, chunky look
-
Hook 5.5–6.5 mm
-
Yarn needle, scissors
-
Optional: non-slip dots or suede/felt sole
Stitches (US terms)
-
ch = chain
-
sc = single crochet
-
hdc = half double crochet
-
sl st = slip stitch
-
inc = 2 stitches in the same stitch
SOLE (make 2)
We crochet an oval, then build up.
Round 1
Ch 19.
In 2nd ch from hook: 3 sc (this makes the first curve).
Sc in next 16 chains.
In last ch: 5 sc (other curve).
Now work on the other side of the chain: sc in next 16 stitches.
In last stitch: 2 sc.
Join with sl st.
Round 2
Ch 1.
In the 3-sc curve: inc in each of the next 3 sts.
Sc across the straight side until you reach the 5-sc curve.
In the 5-sc curve: inc in each of the next 5 sts.
Sc across the other straight side.
At the final small curve: inc in the last 2 sts.
Join.
Round 3
Ch 1.
In each curve area, do: (sc, inc), repeating around the curves.
Sc on straight parts.
Join.
✅ You should now have a sole about 24–25 cm long.
SIDE WALL (build the “cup”)
Round 4 (IMPORTANT)
Ch 1. Sc in BLO (back loop only) all the way around.
Join.
Round 5
Ch 1. Sc all around. Join.
TOE (closed-toe section)
Find the center front of the slipper (toe). Place a marker there.
Round 6
Start at the side seam. Sc until you reach the toe center zone.
Now toe shaping: over the next ~12 stitches do:
-
(hdc2tog) Repeated to close the toe nicely
Then sc the rest of the round. Join.
Round 7
Repeat Round 6 but make the toe zone slightly smaller (about 10 stitches).
Use hdc2tog across that zone again. Join.
Round 8
Repeat again (toe zone 8 stitches). Join.
✅ Toe should now look closed and snug.
TOP STRIPE BAND (for the “rainbow” look)
Now switch colors every 1–2 rounds.
Rounds 9–12 (color stripes)
Work hdc all around for a thicker, softer look.
Change color at the end of each round:
-
Lavender
-
Baby blue
-
Mint
-
Soft yellow
-
Peach
-
Pink
(Do 1 round per color, or 2 rounds per color if you want thicker stripes.)
FINISH EDGE
Final round
Ch 1. Sc all around (or crab stitch for a pro look).
Fasten off, weave in ends.
Make the second slipper
Repeat everything exactly.
📏 Easy resizing
-
Bigger size: start chain +2 (so ch 21), and add one more sole round if needed.
-
Smaller size: start chain -2 (so ch 17).
-
Always aim for sole length = your foot length (cm) minus ~0.5 cm (it stretches).
You Also May Like
 Adorable Bouquet with Micro Crochet – Free Pattern
 Crochet Eight Petal Flower
 Crochet Super Easy Rose
 Crochet Coquette Bow Scarf – Free Written Pattern
 Crochet Dahlia – Free Written Pattern
 Crochet Daisy Tote Bag – Free Written Pattern
 Crochet Daisy Puff Coaster – Free Written Pattern
 Crochet Snowflake – Free Written Pattern